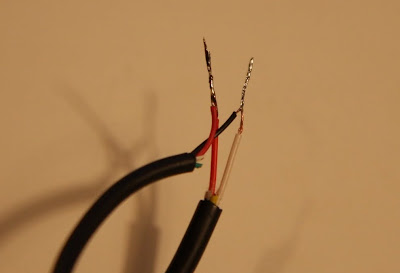
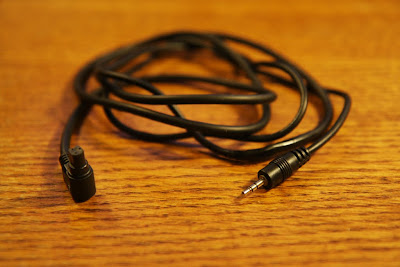
However, the camera used as an example in the instructable has a standard 2.5mm mini-plug instead of the N3 plug that my 40D has. So I needed to figure out how to get from the 2.5mm jack on the TI-89 to the N3 plug on my camera. It turned out to be pretty simple, order a remote shutter release cord and a 2.5mm cord and splice them. Here's the step-by-step:
1. Supplies
2.5mm cord
N3 shutter release
Wire cutter/striper
Electrical tape
Solder and soldering iron (optional)

2. Cut the wires

3. Cut back about an inch of the outer sheath exposing the individual wires and strip the about a half an inch. Remember these wires only have half a dozen strands so they're very delicate.

4. You should have 3 from the N3 cable (Red - Shutter, Yellow - Focus, White - Common) and 4 from the 2.5mm cable (Black - Common, Red - supply, Green, White). If your colors are different you're going to need to use a bit of trial and error. I found it useful to open up the shutter release button, or take a look at this helpful diagram.

5. First try connecting the N3-white to the 2.5-black and the N3-red to the 2.5-red. Run the program on your TI. Make sure your camera is turned on and focused properly or in manual focus mode. If your camera snapped some pictures then great, your almost done! If not, then my suggestion is to use a multimeter to find the common on the 2.5mm side, connect it to the common on the N3 and then just through trial and error (twist the N3-red with each one of the other colors and run the program) determine which wire activates the shutter.

6. Once you have the correct wires you can solder them together for a more durable connection (optional)

7. Tape the connection up and you're done! Hope this helps, please post comments with questions or successful videos!

No comments:
Post a Comment